


How to Remove the NVIDIA Control Panel From the System Tray
Posted by: Timothy Tibbetts on 03/19/16 01:35 am
[
 Comments
]
Comments
]
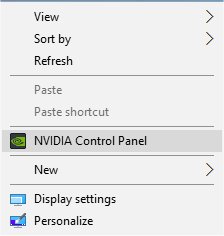
On a recent fresh install of Windows 10 I found that I had the NVIDIA Control Panel in my system tray. It used to be easy to remove by deleting it from startup but things have changed and it’s not there anymore but good news, it’s easy to hide still.
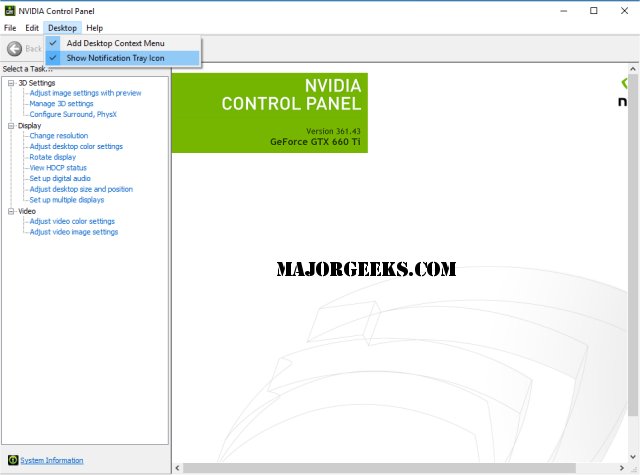
Now just hover your mouse over “Desktop” and uncheck “Show Notification Tray Icon” and it will now be gone from the tray. Optionally you could uncheck “Add Desktop Context Menu” which is why I explained what that is above.
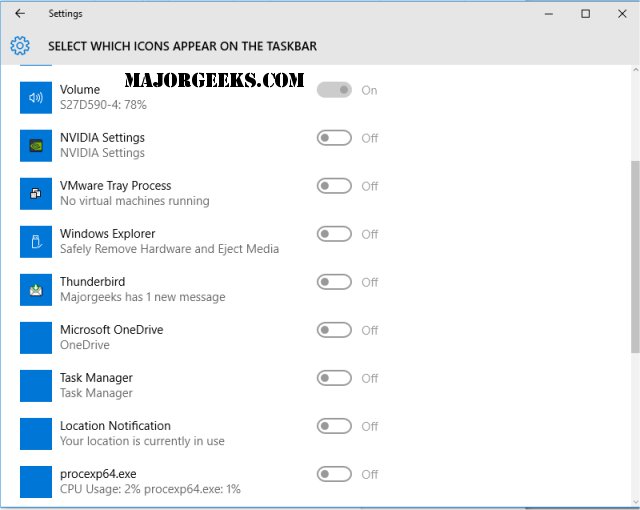
You can also confirm this in your Control Panel. For Windows 10 you want to go to "Start, Settings, System, Notifications & Actions, Select which icons appear on the taskbar". While you’re there, you might even hide anything else annoying you.
Now just hover your mouse over “Desktop” and uncheck “Show Notification Tray Icon” and it will now be gone from the tray. Optionally you could uncheck “Add Desktop Context Menu” which is why I explained what that is above.
You can also confirm this in your Control Panel. For Windows 10 you want to go to "Start, Settings, System, Notifications & Actions, Select which icons appear on the taskbar". While you’re there, you might even hide anything else annoying you.
Comments
