


Speed up Your Computer by Disabling Indexing
By Timothy Tibbettson 06/15/2023 |
There are many ways to speed up a slow computer. One example is to modify or disable Indexing depending on how often you use the search feature. There are two ways to do this. The first method allows you to define folders that remain indexed, and the second method disables indexing on an entire drive.
Method 1: Disable Indexing While Excluding Some Folders
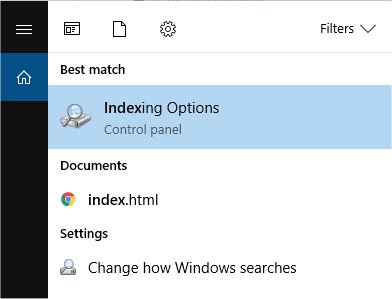
Press the Windows + S keys and type in index and click on Indexing Options or Change how Windows searches. They're the same thing.
Now click on Modify.
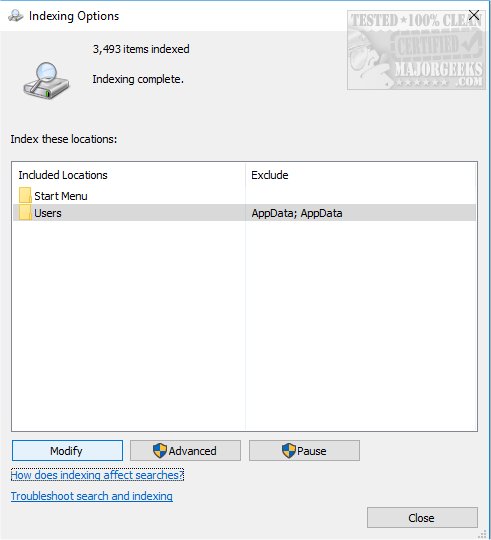
You should now see Indexed Locations
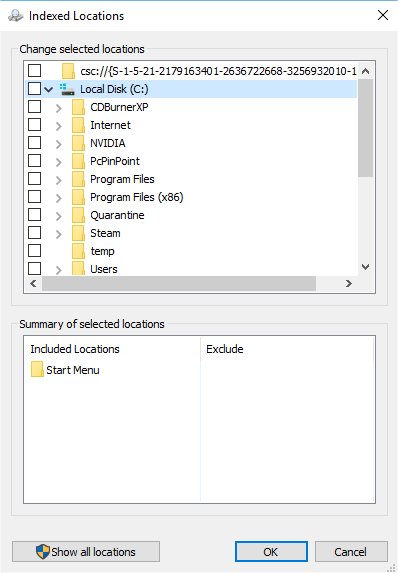
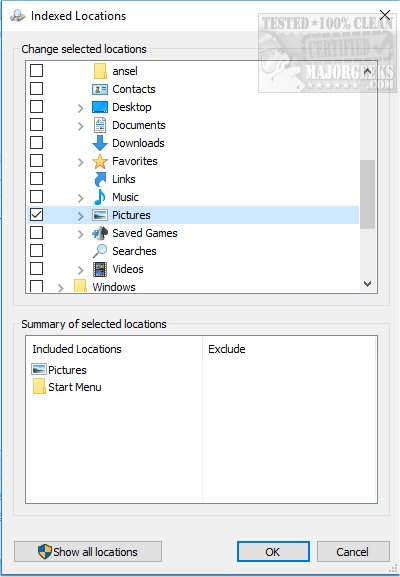
Here you can uncheck anything you don't want to be searched. The great thing about this is that you can disable all of your hard drives with one click then expand the drive and check the box next to any folder you regularly search, for example, pictures. As you can see here, we expanded our C: drive, found the pictures folder, and checked the box to allow that folder to be searched. A summary of excluded folders is shown at the bottom.
Method 1: Disable Indexing on an Entire Drive
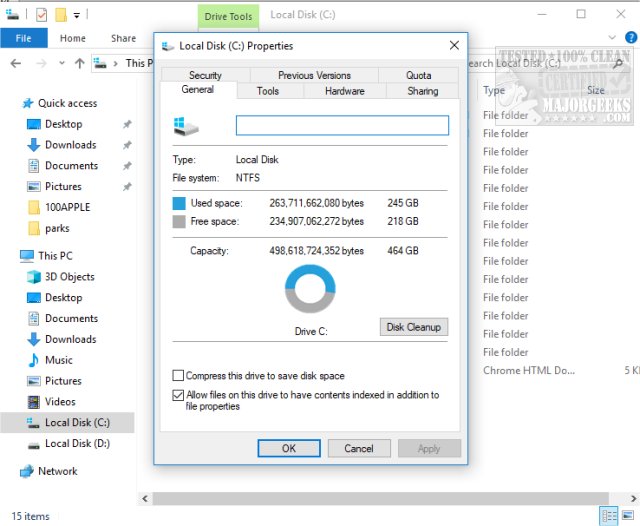
If you know you want to disable all Indexing, there's another way to do so, and it's how we do it. Open File Explorer (Windows Explorer) and right-click on your C: drive, or any drive you want to disable indexing on and select properties. Uncheck the box at the bottom that says Allow files on this drive to have contents indexed in addition to file properties and click apply.
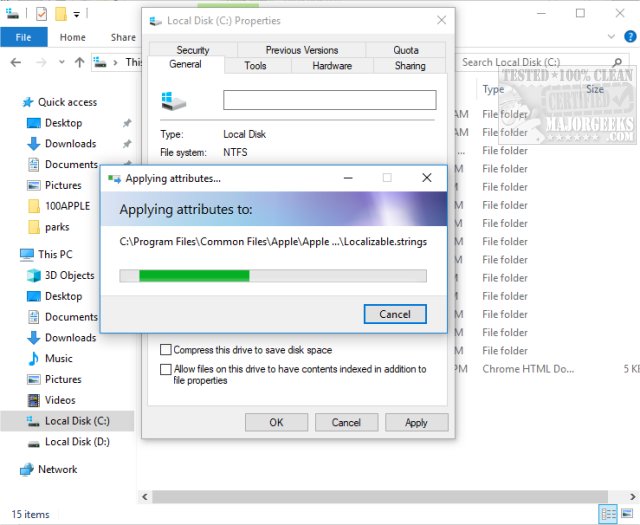
You will be given a choice to apply changes to the drive or the drive and all subfolders. Choose Apply changes to drive c:, subfolders and files. You should be told you need administrator permission, so click on Continue. Finally, you will almost always get an error that some files are in use and can't be modified. That's OK and normal. Rather than click on this repeatedly, select Ignore all. The changes can take a few minutes to a half-hour depending on how many files, and how slow, your computer is.
This is what you'll see why you're waiting. Once completed, close Windows Explorer and you're done!
Similar:
How to Delete and Rebuild the Windows 10 Search Index
comments powered by Disqus
Method 1: Disable Indexing While Excluding Some Folders
Press the Windows + S keys and type in index and click on Indexing Options or Change how Windows searches. They're the same thing.
Now click on Modify.
You should now see Indexed Locations
Here you can uncheck anything you don't want to be searched. The great thing about this is that you can disable all of your hard drives with one click then expand the drive and check the box next to any folder you regularly search, for example, pictures. As you can see here, we expanded our C: drive, found the pictures folder, and checked the box to allow that folder to be searched. A summary of excluded folders is shown at the bottom.
Method 1: Disable Indexing on an Entire Drive
If you know you want to disable all Indexing, there's another way to do so, and it's how we do it. Open File Explorer (Windows Explorer) and right-click on your C: drive, or any drive you want to disable indexing on and select properties. Uncheck the box at the bottom that says Allow files on this drive to have contents indexed in addition to file properties and click apply.
You will be given a choice to apply changes to the drive or the drive and all subfolders. Choose Apply changes to drive c:, subfolders and files. You should be told you need administrator permission, so click on Continue. Finally, you will almost always get an error that some files are in use and can't be modified. That's OK and normal. Rather than click on this repeatedly, select Ignore all. The changes can take a few minutes to a half-hour depending on how many files, and how slow, your computer is.
This is what you'll see why you're waiting. Once completed, close Windows Explorer and you're done!
Similar:
comments powered by Disqus
