


How To Delete Temporary Files and Free Up Space in Windows 11
By selma čitakovićon 01/18/2026 |
Temporary files are a byproduct of Windows updates, installing apps, opening web pages, and other daily tasks on your PC. In theory, they're supposed to be deleted, since they temporarily store data for quick tasks. As soon as that's done, they should be gone. But instead, they often stay and may even pile up if left unchecked. If you're already low on storage, this can be very annoying.
The easy solution, of course, is to periodically remove junk files. This includes old update data, system cache, temporary internet files, thumbnails, and more. I'll show you five methods to do so. They're generally more effective than just going to the user or system Temp folders and deleting everything.
You may want to sign in as an administrator first, or you won't be able to delete some of the temporary system files.
Use Storage Sense
Storage Sense is a Windows 10 and 11 tool for cleaning up clutter automatically. Follow these steps:
- Go to Settings > System > Storage.
- You should see Storage Sense in the Storage management section. Click on the button next to it to turn it on.
- Click on Storage Sense, then check Keep Windows running smoothly by automatically cleaning up temporary system and app files.
- If you don't want it to run automatically, you can ignore the previous step and click on Run Storage Sense now instead. You can find the button at the bottom of the screen.
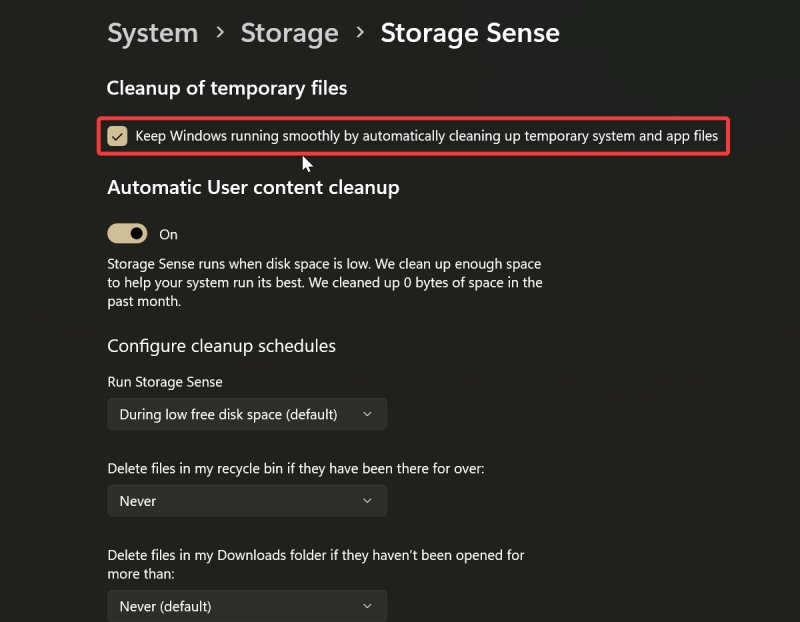
You also have specific options for your Downloads folder and recycle bin, if you'd prefer to leave them out of routine cleanup operations.
Clean up system drive storage
You can easily delete files from your system drive in the Settings:
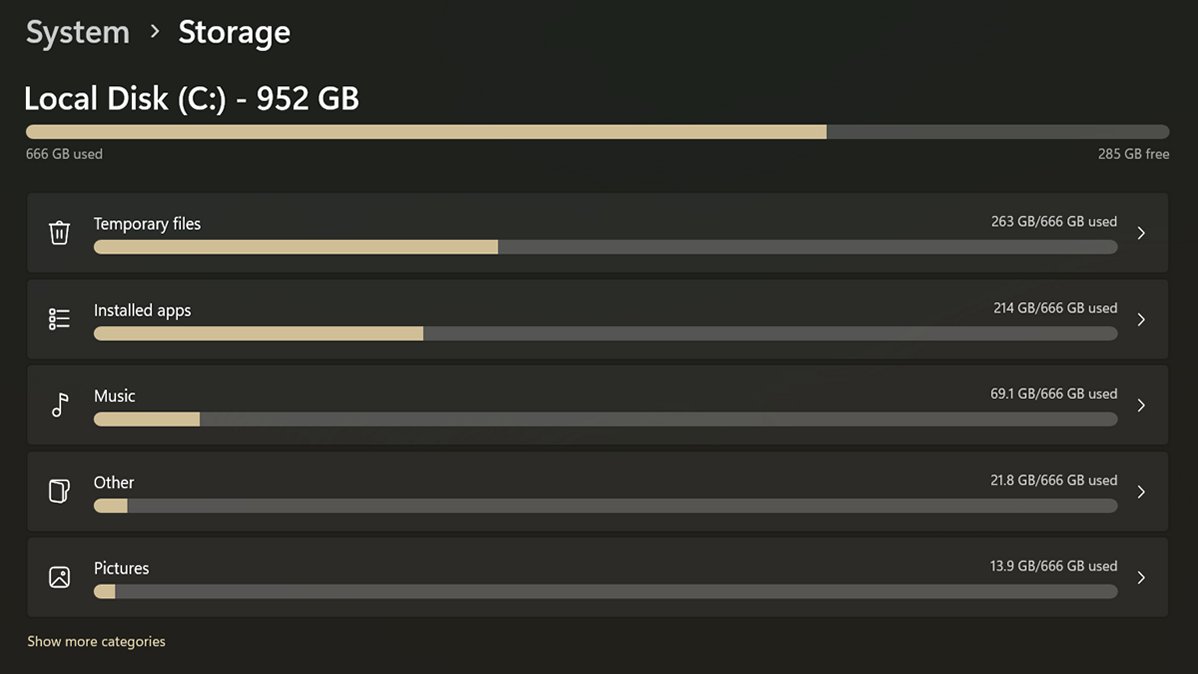
- Go to Settings > System > Storage.
- You should see your system drive at the top of the page, with different categories like Temporary files, Installed apps, Music, etc. Click on Temporary files.
- Check the ones you want to delete and click the Remove files button.
- Confirm your decision by clicking Continue, and wait for the cleanup to finish.
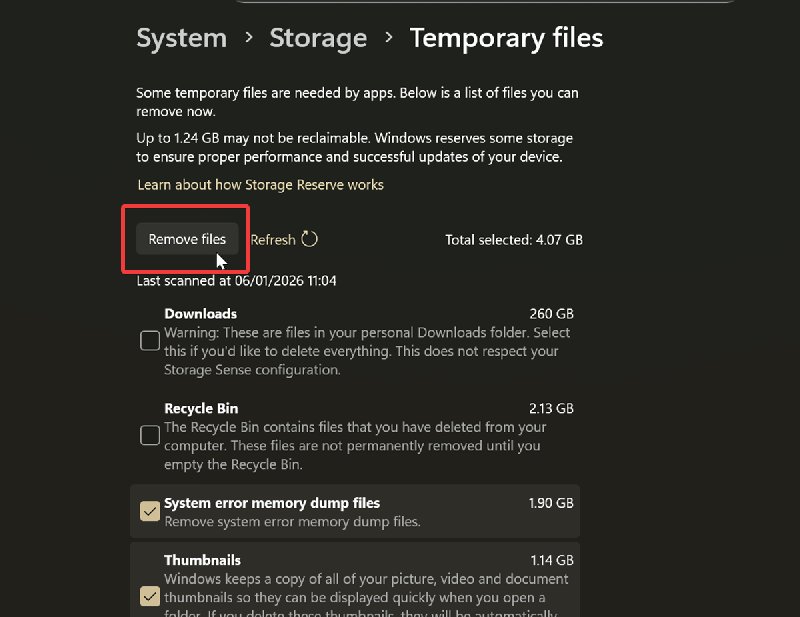
You have the option to clean up (or just leave unchecked) your Downloads folder and Recycle bin, together with various dump files, thumbnails, log files, etc. You may also be able to delete previous Windows installations. However, if you do that, you won't be able to roll back to those versions.
Additionally, some temporary files are needed by apps, so Windows reserves a bit of your storage for them. You'll see how much of the reserved storage you can't delete.
Clean up storage for a specific drive
You can also target other drives. Here's how:
- Go to Settings > System > Storage (again).
- Expand Advanced storage settings in the Storage management section.
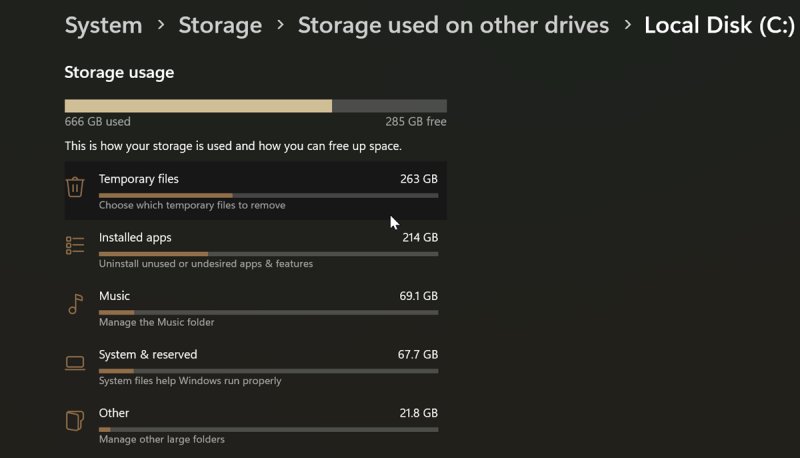
- Select Storage used on other drives.
- Click on the drive you want to clean up.
- Select Temporary files.
- Just like in the previous method, select the ones you want to delete and click the Remove files button.
- Click Continue to permanently remove the files.
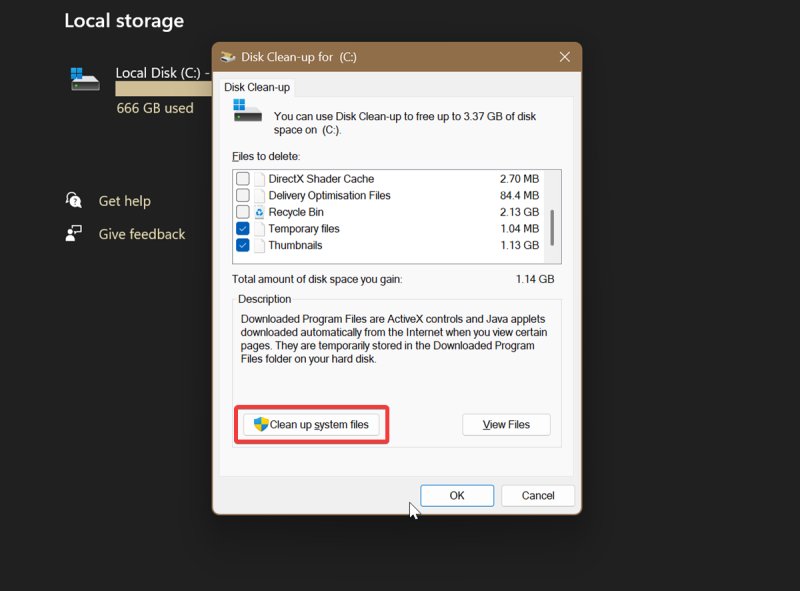
Use Disk Cleanup
Disk Cleanup is a built-in Windows utility that does exactly what you'd expect: it deletes unnecessary files and frees up drive space.
Here's how to use it:
- Press Win + R and type in cleanmgr.exe. Press Enter.
- Select the drive you want to make changes to, and tap OK.
- Check the files you plan to delete, and hit OK again.
- Select Delete Files to confirm your decision. Wait for the utility to finish the cleanup.
- You can also click on Clean up system files to be more thorough. This will include old update files, temporary installation files, and similar ones.
However, Disk Cleanup is somewhat limited compared to the previous methods. It will only delete temporary files older than seven days since you last accessed them.
There's also an alternative way of initiating the tool. Select the drive you want to clean up in File Explorer, and click the three dots in the command ribbon. You should see a Clean-up option there.
Use third-party tools
There are plenty of third-party options for freeing up space. Some of the most comprehensive ones are:
- PrivaZer – a privacy-oriented deep cleaner that will take care of traces from old files
- CCleaner – a long-standing favorite, but keep in mind that it offers third-party software during installation (like Avast!)
- Wise Disk Cleaner – effectively clears out clutter and junk files, but includes in-app offers for other Wise services.
- HDCleaner – A longtime favorite of us here at MajorGeeks becuase we love its design and effectiveness.
These programs focus on in-depth cleaning and may be aggressive compared to the built-in Windows utilities I've previously covered. I recommend you use them with care.
Moreover, keep in mind that even if you delete everything from your PC's temp directory, junk files will eventually rebuild themselves. Programs and ongoing processes will recreate them so they can run optimally. There's no truly permanent solution to clutter. It's kinda like real trash – you can't just throw it out once and be done with it forever.
Anyway, hopefully these tips will help you keep a tidier PC!

|
selma citakovic
Selma is a gamer, geek and gremlin hunter with a passion for cyber security and smashing Windows bugs before they bite. She’s IBM-certified, loves real freeware, despises bloatware, and powers most of her troubleshooting with an unhealthy amount of coffee. |
comments powered by Disqus
