


What is AppVShNotify.exe?
By Timothy Tibbettson 07/18/2023 |
AppVShNotif.exe can be found in Windows 10, 8, and 7. It should be located in C:\Program Files\Common Files\microsoft shared\ClickToRun. It stands for Microsoft Application Virtualization Client Shell Notifier and is part of virtualized application integration with Microsoft Office.
If AppVShNotif.exe is found anywhere except for C:\Program Files\Common Files\microsoft shared\ClickToRun, or you don't have Microsoft Office installed, you should scan your computer with your antivirus or Malwarebytes.
We've also seen some additional errors where AppVShNotif.exe can become corrupted or cause errors. Running System File Checker can resolve problems.
How to Run DISM and System File Checker
Windows 10, Windows 8.1, or Windows 8 users will need to first run the Deployment Image Servicing and Management (DISM) tool before running the System File Checker. DISM will use Windows Update to provide any files that are needed to fix corruption. If you skip this step, System File Checker might not work. Windows 7 and Vista users can skip this step.
You will need to first open the Command Prompt or PowerShell as administrator.
Type in DISM.exe /Online /Cleanup-image /Restorehealth and press enter. This may take a few minutes.
Running System File Checker
All you need to do is type in sfc /scannow and press the Enter key.
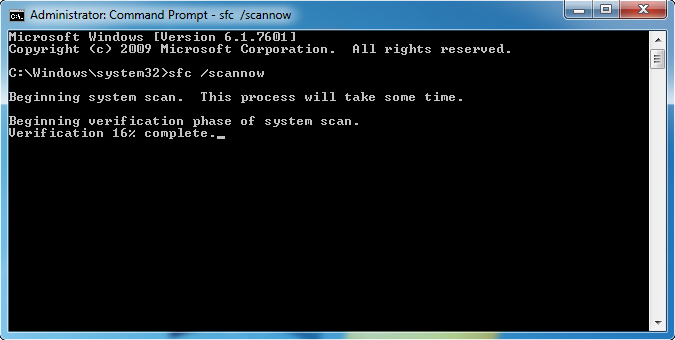
System File Checker will now scan for and replace files from the Windows cache.
comments powered by Disqus
If AppVShNotif.exe is found anywhere except for C:\Program Files\Common Files\microsoft shared\ClickToRun, or you don't have Microsoft Office installed, you should scan your computer with your antivirus or Malwarebytes.
We've also seen some additional errors where AppVShNotif.exe can become corrupted or cause errors. Running System File Checker can resolve problems.
How to Run DISM and System File Checker
Windows 10, Windows 8.1, or Windows 8 users will need to first run the Deployment Image Servicing and Management (DISM) tool before running the System File Checker. DISM will use Windows Update to provide any files that are needed to fix corruption. If you skip this step, System File Checker might not work. Windows 7 and Vista users can skip this step.
You will need to first open the Command Prompt or PowerShell as administrator.
Type in DISM.exe /Online /Cleanup-image /Restorehealth and press enter. This may take a few minutes.
Running System File Checker
All you need to do is type in sfc /scannow and press the Enter key.
System File Checker will now scan for and replace files from the Windows cache.
comments powered by Disqus
