


Windows 11 Repair Playbook: SFC, DISM, CHKDSK Without Breaking Stuff
By selma čitakovićon 11/26/2025 |
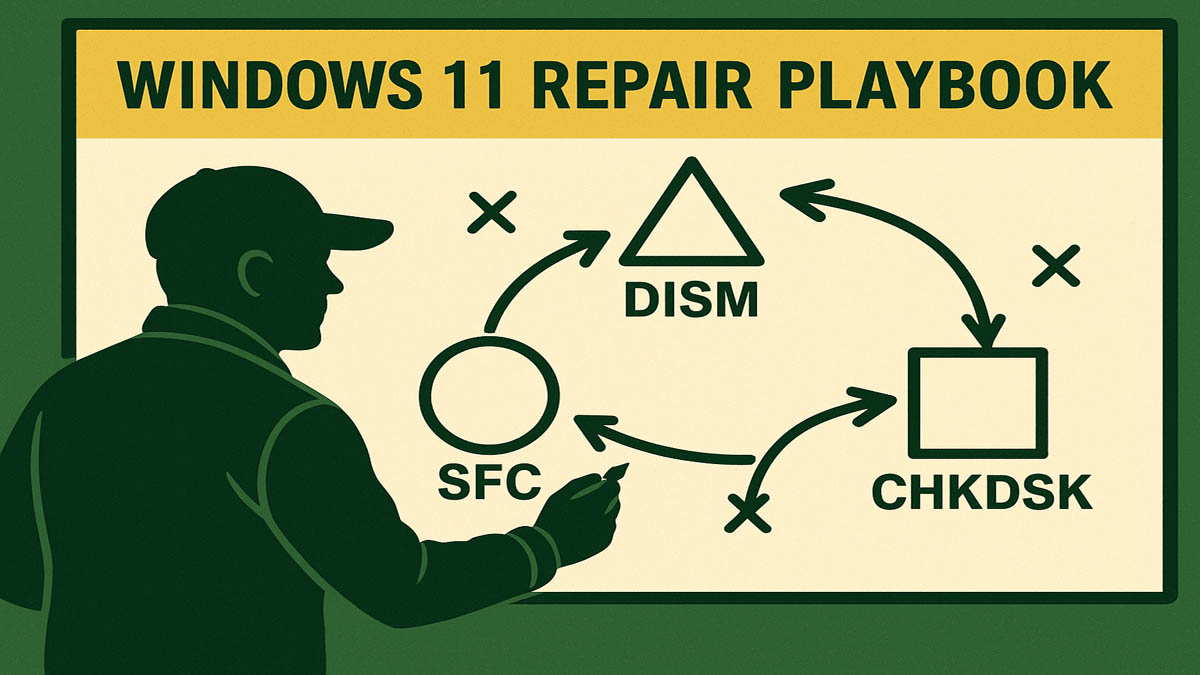 SFC, DISM, and CHKDSK have a bit of a bad reputation. Together with rebooting, they’re known as the go-to troubleshooting advice for any kind of Windows problem. However, they have very different functions, as you’ll soon see. Additionally, the order in which you should use them is actually important.
So, let’s clear things up, once and for all, when each tool matters.
When to use DISM
DISM stands for Deployment Image Servicing and Management. Basically, it’s a command-line tool that allows you to prepare and repair the Windows system image. This image is a snapshot of your system at a certain time, with all your settings, installed programs, and files.
You should run it when experiencing:<
- A faulty Windows installation
- Booting problems
- Random crashes and BSOD errors
- DLL errors
- Updates failing to install
- Certain OS operations being slower than usual.
In a nutshell, it can help if something in the Windows system image and component store is broken or missing. The most important thing is to use it before SFC.
The order of troubleshooting commands is one of those questions that leads to a lot of discussion. Which came first, the egg or the chicken? DISM or SFC?
Despite a lot of contradictory information, DISM comes first. This is because DISM provides the files SFC will need for its operations. It can restore the health of the system image (if anything is corrupted), which SFC will use as a source for its checks.
To use it, you’ll need to open an elevated Command Prompt. Here’s how:
- Type cmd in Windows Search.
- Click on Run as administrator under Command Prompt in the results.
- Click on Yes if you’re asked for permission by User Account Control.
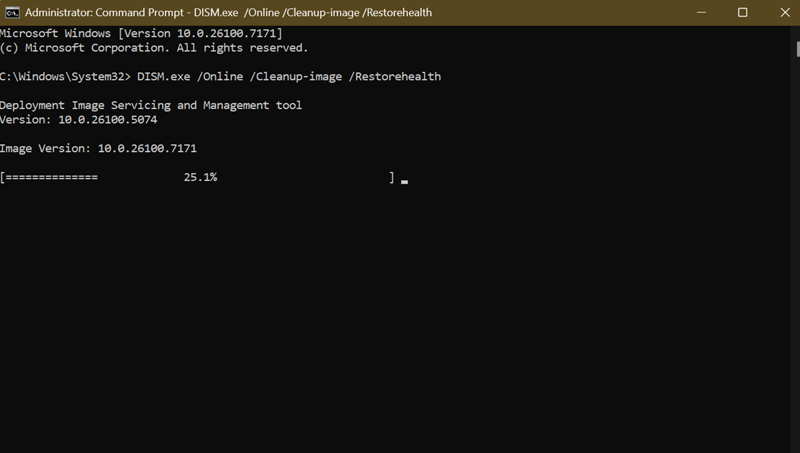
- Type in the following command: DISM.exe /Online /Cleanup-image /RestoreHealth
Now, all you have to do is wait and let it do its thing.
However, if your Windows Update client is broken, you’ll have to modify the command a bit. You should type:
DISM.exe /Online /Cleanup-Image /RestoreHealth /Source:C:\RepairSource\Windows /LimitAccess
Replace “C:\RepairSource\Windows” with the location of your repair source. It can be any form of Windows installation media, like an ISO file or a USB.
Also, there are two more DISM commands that just scan the Windows image without repairing anything: /CheckHealth and /ScanHealth). But you can just skip them, since /RestoreHealth does everything you need.
One more thing:
If you’re experiencing blue screens and crashes, you should check out the Event Viewer logs right after to pinpoint the issue. To do so:
- Type Event Viewer in Windows Search and open it.
- On the left side, go to Windows Logs > System.
- Look through the Events for an error that happened around the time of the crash.
- You can also filter the events. Click on Filter Current Log on the right side, and tick these options: Critical, Warning, and Error.
- Double-click the relevant event to look at its details.
You’ll find a short description of the error, information about the error source, and bug check code.
You can use this info to look up precisely what you need to do, and not rely on generic troubleshooting.
When to use SFC
SFC stands for System File Checker. It’s a command-line tool that scans and restores corrupt system files. You should use it for the same kinds of problems as with DISM: crashes and BSOD errors, updates failing to install, booting issues, etc.
There’s a running joke that SFC never really does anything. However, any IT professional worth their salt will tell you that it does work, but you can’t just run it alone and expect it to solve all your problems.
Also, like I said earlier, the order is important: use DISM first, then SFC. You’ll need DISM to verify or replace the system files that SFC uses for its checks. If you only use SFC, it may just assume that the archived files are alright and possibly overlook the issue.
Here are the steps:
- Open Command Prompt as an administrator, as explained previously.
- Type in the following command: sfc /scannow.
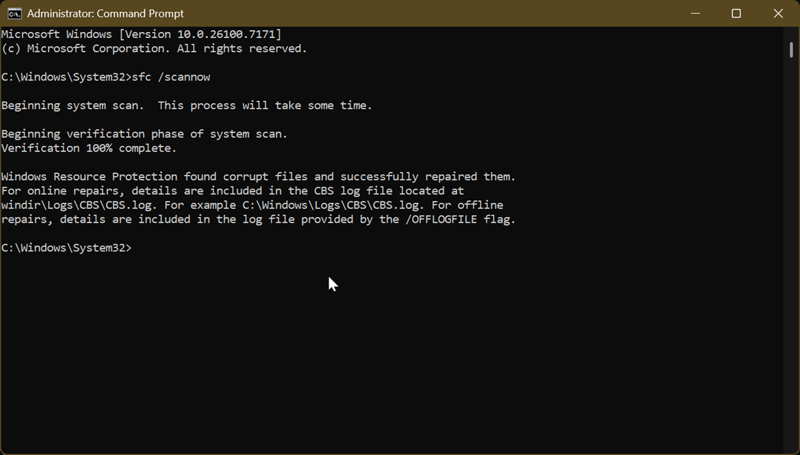
Wait for the process to complete and pay attention to the result message:
- “Windows Resource Protection did not find any integrity violations.”
- “Windows Resource Protection could not perform the requested operation.”
- “Windows Resource Protection found corrupt files and successfully repaired them.”
- “Windows Resource Protection found corrupt files but was unable to fix some of them.”
If you got the first or third message, congrats, your job here is done.
But if you received the second message, you’ll have to perform the SFC scan in safe mode. To do so, press the Windows key + R together to bring up the Run window. Type msconfig. In the Boot tab, check the Safe boot option. Select Apply and OK, and restart your computer. You can now redo the SFC scan.
Lastly, if the results show the fourth message, you’ll have to read the logs and find the file that couldn’t be repaired. You can find these details in the CBS.Log file.
To find it, open elevated Command Prompt and type:
findstr /c:"[SR]" %windir%\Logs\CBS\CBS.log >"%userprofile%\Desktop\sfcdetails.txt"<
This will generate a sfcdetails.text file on your desktop, where you can find the corrupted system file. Once you locate it, you can manually replace it with a working copy. You can even use another computer as the source for the file, as long as it runs the same Windows version.
When to use CHKDSK
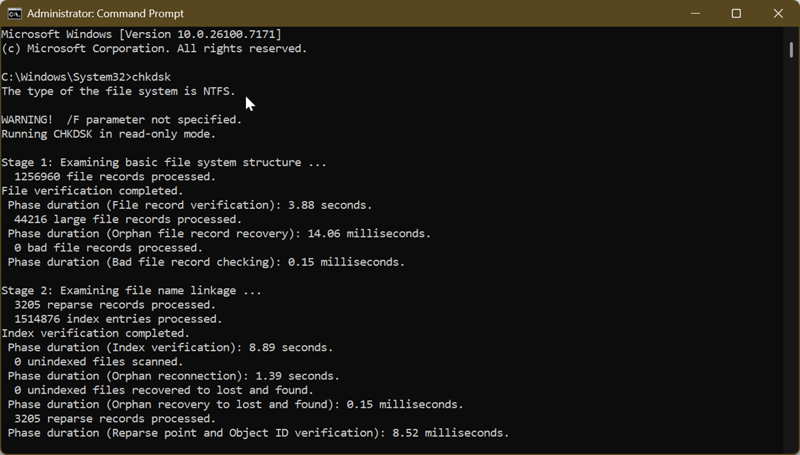
CHKDSK stands for Check Disk – unexpected, I know. It’s a command-line tool that can report and repair drive errors, locate bad sectors, recover readable information, and more. If you use it without parameters, it will only show you the drive’s status.
Unlike DISM and SFC, which generally cover the same problems, CHKDSK is more specific. Instead of Windows system files and related issues, it focuses on the hard drive and file system.
You should use it if you suspect or notice:
- File system errors
- Bad sectors on the disk
- File corruption outside of system files
- Slow performance
- Random crashes.
However, if you’re certain your hard drive is about to die, you shouldn’t use CHKDSK. That sounds a bit paradoxical, but I’ll explain why.
If you’re sure your drive is a goner, full-surface scans with CHKDSK will only degrade it further and lead it quicker to its death. Instead, you should back up your data and focus on replacing the disk.
With that said, here’s how to use it:
- Run Command Prompt as an administrator.
- Type chkdsk /f to resolve disk errors.
- Type chkdsk /r to locate bad sectors and recover information.
Wait for both processes to complete and don’t interrupt them. However, for the /f command to work, the drive needs to be locked. If it’s not, you can run it again right after restarting your computer.
So, there you have it! I hope things are clearer now, and you won’t use these tools interchangeably anymore.
In short, if you’re experiencing Windows system file-related problems, use DISM, and then SFC. On the other hand, if the issues are connected to your hard drive, run CHKDSK, but only if you’re sure your drive isn’t on its deathbed.

|
selma citakovic
Selma is a gamer, geek and gremlin hunter with a passion for cyber security and smashing Windows bugs before they bite. She’s IBM-certified, loves real freeware, despises bloatware, and powers most of her troubleshooting with an unhealthy amount of coffee. |
comments powered by Disqus
