


How To Remove Recommended From the Start Menu in Windows 11
By selma čitakovićon 03/28/2026 |
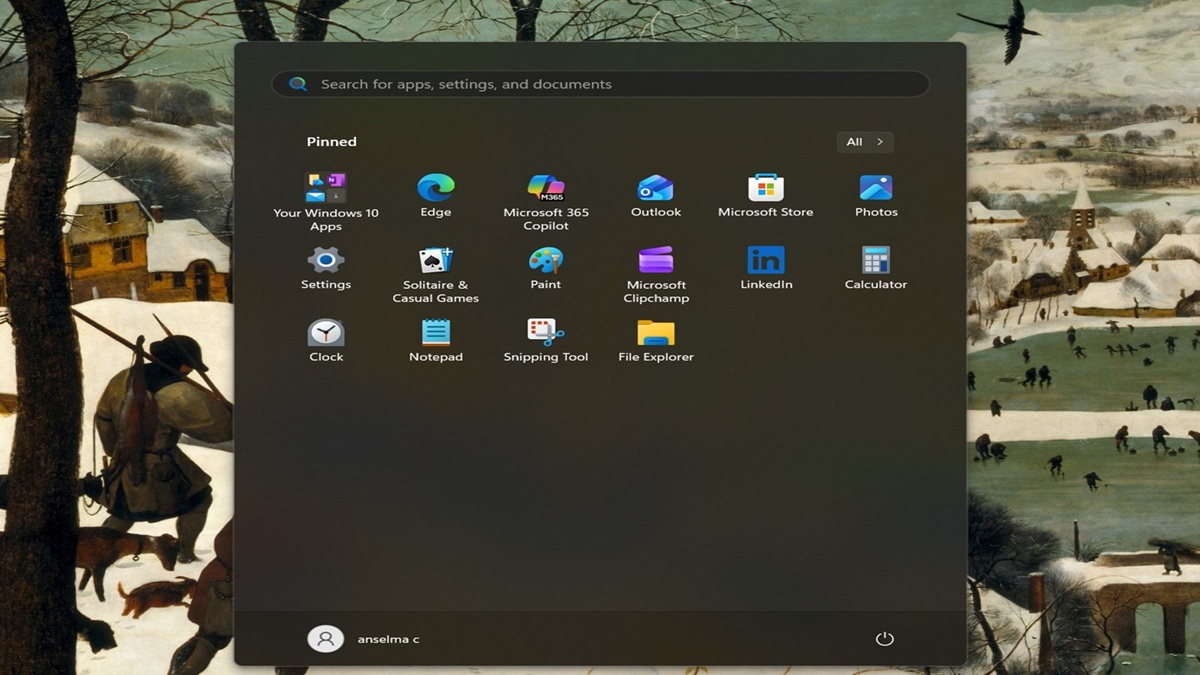
Don’t like the default Start menu for Windows 11? I don’t blame you. It looks crowded, with too many sections competing for your attention. The Recommended section alone is a bit too much, as it shows you a list of recently added apps, most used ones, recommended files, websites, and more.
Now, you can disable it either by going through several settings, using the Local Group Policy Editor, or the Registry Editor. I’ll show you all three methods and how to undo the changes if needed.
Settings
You can remove the Recommended section directly through the Settings. You’ll have to disable quite a few options for it to work. Here’s how:
- Go to Settings > Personalization > Start.
- Once you’re there, you should toggle off the following:
- Show recently added apps
- Show the most used apps (it might be turned off by default)
- Show recommended files in Start, recent files in File Explorer, and items in Jump Lists
- Show websites from your browsing history
- Show recommendations for tips, shortcuts, new apps, and more.
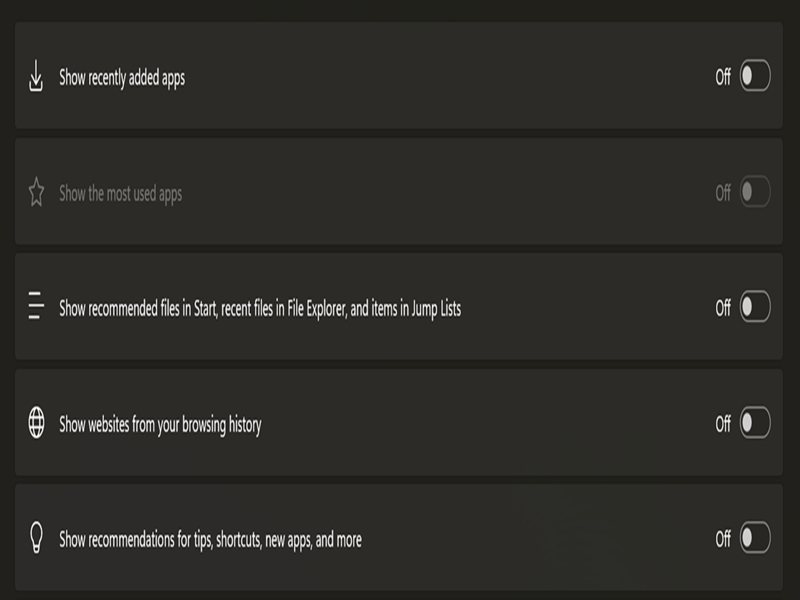
As you can see, there isn’t one big button you can press to remove it altogether. But once you disable all these options, you should see no more recommendations in the Start menu.
Local Group Policy Editor
This editor is only available to Windows Pro, Education, and Enterprise editions. So, if you use the Home edition, you’ll have to skip this method. Additionally, you should sign in as an administrator to be able use it.
Here are the steps:
- Type Edit group policy in Windows Search, then click Open.
- Go to either Computer Configuration > Administrative Templates > Start Menu and Taskbar (to remove the Recommended section for all users) or User Configuration > Administrative Templates > Start Menu and Taskbar (for specific users).
- While in the Start Menu and Taskbar folder, double-click Remove Recommended section from Start Menu.
- Select Enabled, and click the OK button.
- Close the editor and reboot to apply the changes. Alternatively, you can restart Windows Explorer: Press Ctrl + Shift + Esc to open Task Manager, find the Explorer process, right-click it, and hit Restart.
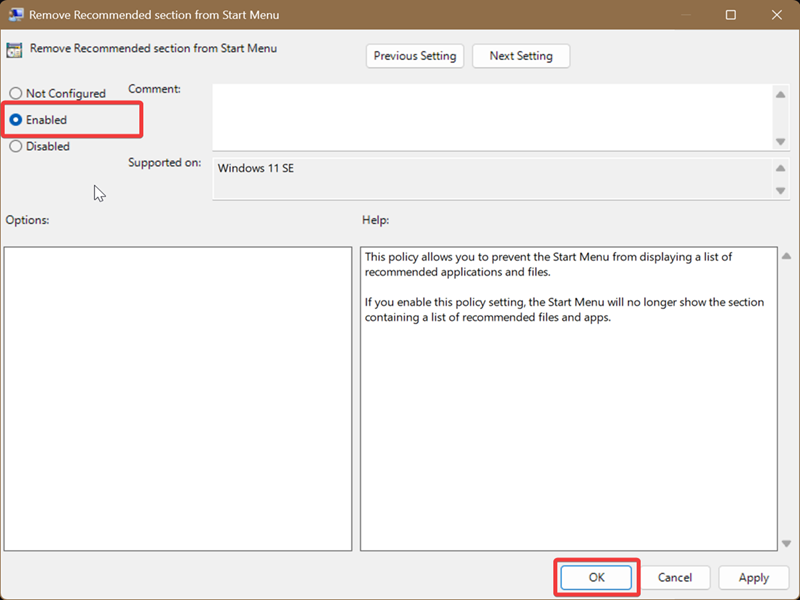
To undo this, select Not Configured and click OK in the Remove Recommended section from Start Menu policy. Remember to reboot or restart File Explorer again.
Registry Editor
Finally, you can use the registry editor to modify the registry keys and remove this section completely. Again, you should sign in as an admin to be able to use it.
The following edits are generally safe and won’t wreak havoc on your PC if you properly follow the steps. Still, it’s always a good idea to create a system restore point before doing any registry tweaks.
Here are the instructions:
- Type Registry Editor in Windows Search and click on Run as administrator.
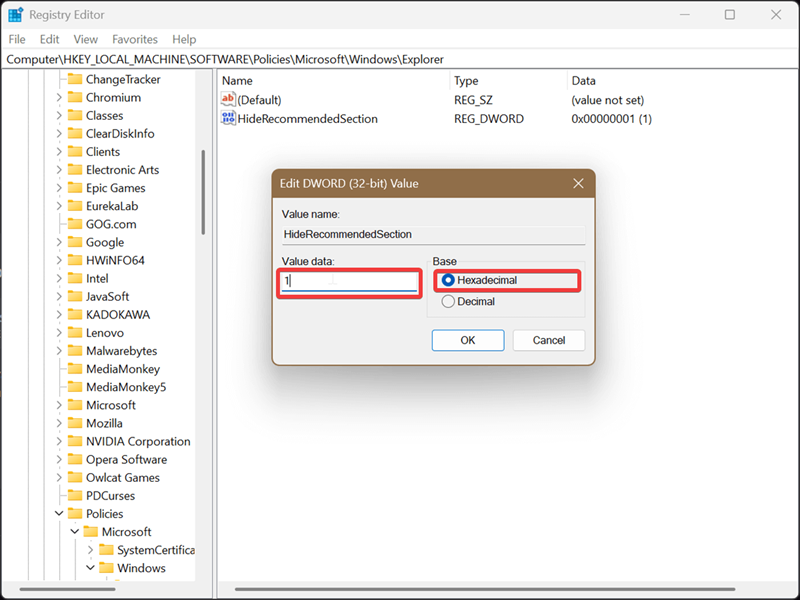
- Go to Computer\HKEY_LOCAL_MACHINE\SOFTWARE\Policies\Microsoft\Windows\Explorer. You can paste this in the address bar at the top.
- Now, while in the Explorer key, right-click the empty space and select New > DWORD (32-bit) Value. Name it HideRecommendedSection.
- Double-click it to configure it. Select Hexadecimal as the base, and type 1 in the Value data field. Click on OK.
- Reboot or restart the Windows Explorer process to apply the changes.
This will fully remove the Recommended section, and you won’t be able to bring it back with the Settings.
To undo this, just delete HideRecommendedSection (right-click it and hit Delete), and reboot/restart Windows Explorer. It’s easy!
I hope these tips will help you bring some order into your Start menu. You can also remove Widgets for an even cleaner look.

|
selma citakovic
Selma is a gamer, geek and gremlin hunter with a passion for cyber security and smashing Windows bugs before they bite. She’s IBM-certified, loves real freeware, despises bloatware, and powers most of her troubleshooting with an unhealthy amount of coffee. |
comments powered by Disqus
