


Enable, Disable, Manage, Delete or Create a System Restore Point
By Timothy Tibbettson 04/28/2025 |
System Restore is designed to back up your system files, installed apps, Windows Registry, and system settings. It's not perfect, but it's easy to use and one of many ways to back up your computer should problems arise. Spending a few minutes with System Restore is always a good idea, so it works right for your particular needs. Here's how.
Open System Restore
You need to first open System Restore, so let's start here.
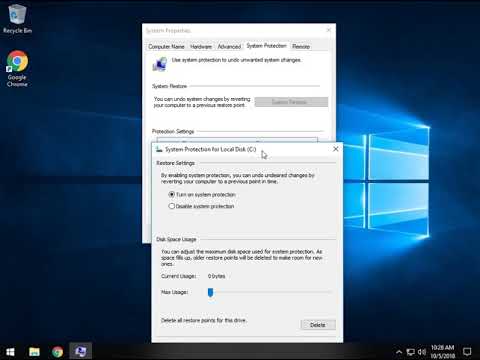
Press the Windows key + S and being typing in restore until you see Create a restore point. This opens the System Protection, System Restore area of the Control Panel. When this was written, System Restore wasn't easy to find in the Control Panel of Windows 10. Once you have it open, it's mostly self-explanatory.
Enable or Disable System Restore
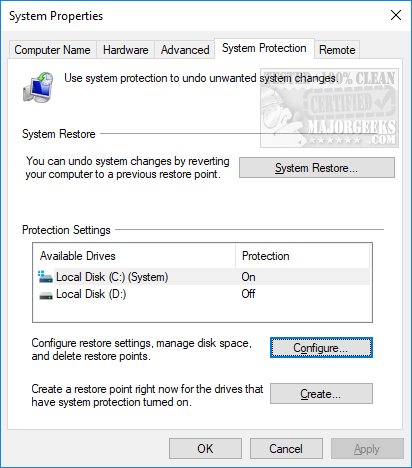
By default, Windows will have System Restore on for the drive Windows is installed to. If it isn't, or you want it disabled, look below Protection Settings for the Configure button where it says, "Configure restore settings, manage disk space, and delete restore points."
Simply select either Turn on system protection or Disable system protection.
If you want to manage System Restore settings, we can also do that.
Manage System Restore
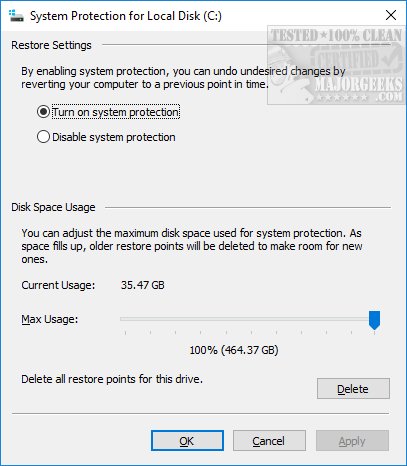
Click on the Configure button. Here you can see how much disk space System Restore is using. You can allow more or less disk space to be used with the slider. System Restore could potentially use a lot of drive space, so we like to lower it to closer to 10 percent, especially with larger hard drives, but that's up to you. By default, System Restore only goes back a month, and there's no option to decide when it automatically creates or deletes restore points.
Create or Delete a System Restore Point
While we're in the Configure tab, you might have noticed the "Delete all restore points for this drive." That's where you can delete everything saved. You can't choose from here as there is no way to delete individual restore points.
Going back to the System Protection, System Restore area of the Control Panel, a button says Create at the bottom. Click on that, and you will be asked to name your restore point—type in a name that identifies your problem so you'll recognize it.
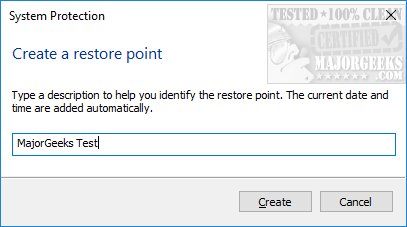
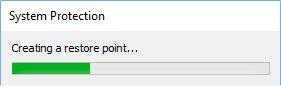
Once you type in a name, press enter, and your restore point will be created immediately. It's usually done within minutes, but Windows will notify you when your restore point has finished.
Restore Your Computer With System Restore
We couldn't complete this without mentioning how to restore your computer. Again, we're sure you noticed at the top a button that says System Restore. You'll get a Window that tells you that you can restore your computer without losing photos, documents, or other personal data.
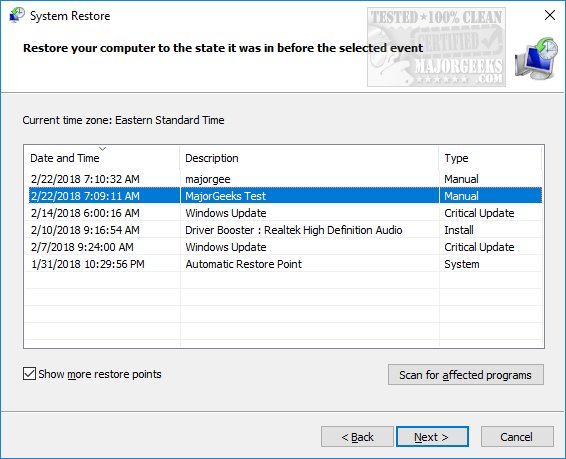
Click on Next, and see your Restore Points. If you created your restore points, then you will see only those. To see the restore points Windows created, click on Show more restore points. Click on the Restore Point you want to restore and click on Next.
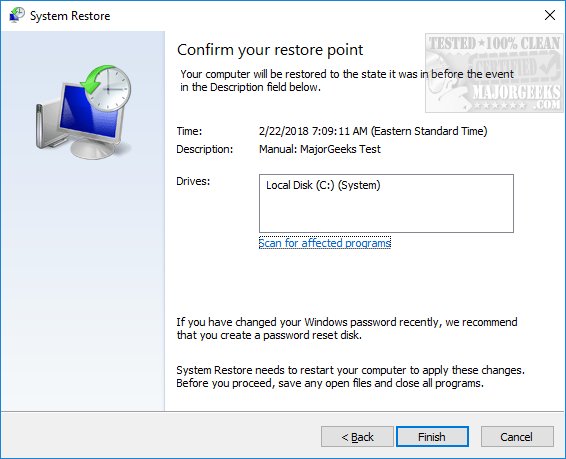
The next Window will give you a final chance to be sure you've selected the right point, that you're aware that Windows will restart (close all programs), and that if you changed your Windows password recently, you might want to create a password reset disk. Finally, click on Finish and wait while System Restore restores your computer and reboots.
There you have it. System Restore is simple to use, but we hope that helped if you're new to it. If you find yourself using System Restore frequently or want more settings, we'd suggest you take a look at other freeware apps.
Similar:
How to Delete Some or All System Restore Points on Windows 10
Enable, Disable, Manage, Delete or Create a System Restore Point
How to Change System Protection Storage Size in Windows 10
How-To Fix System Restore Failed While Restoring the Directory and Other System Restore Errors
comments powered by Disqus
▶
Open System Restore
You need to first open System Restore, so let's start here.
Press the Windows key + S and being typing in restore until you see Create a restore point. This opens the System Protection, System Restore area of the Control Panel. When this was written, System Restore wasn't easy to find in the Control Panel of Windows 10. Once you have it open, it's mostly self-explanatory.
Enable or Disable System Restore
By default, Windows will have System Restore on for the drive Windows is installed to. If it isn't, or you want it disabled, look below Protection Settings for the Configure button where it says, "Configure restore settings, manage disk space, and delete restore points."
Simply select either Turn on system protection or Disable system protection.
If you want to manage System Restore settings, we can also do that.
Manage System Restore
Click on the Configure button. Here you can see how much disk space System Restore is using. You can allow more or less disk space to be used with the slider. System Restore could potentially use a lot of drive space, so we like to lower it to closer to 10 percent, especially with larger hard drives, but that's up to you. By default, System Restore only goes back a month, and there's no option to decide when it automatically creates or deletes restore points.
Create or Delete a System Restore Point
While we're in the Configure tab, you might have noticed the "Delete all restore points for this drive." That's where you can delete everything saved. You can't choose from here as there is no way to delete individual restore points.
Going back to the System Protection, System Restore area of the Control Panel, a button says Create at the bottom. Click on that, and you will be asked to name your restore point—type in a name that identifies your problem so you'll recognize it.
Once you type in a name, press enter, and your restore point will be created immediately. It's usually done within minutes, but Windows will notify you when your restore point has finished.
Restore Your Computer With System Restore
We couldn't complete this without mentioning how to restore your computer. Again, we're sure you noticed at the top a button that says System Restore. You'll get a Window that tells you that you can restore your computer without losing photos, documents, or other personal data.
Click on Next, and see your Restore Points. If you created your restore points, then you will see only those. To see the restore points Windows created, click on Show more restore points. Click on the Restore Point you want to restore and click on Next.
The next Window will give you a final chance to be sure you've selected the right point, that you're aware that Windows will restart (close all programs), and that if you changed your Windows password recently, you might want to create a password reset disk. Finally, click on Finish and wait while System Restore restores your computer and reboots.
There you have it. System Restore is simple to use, but we hope that helped if you're new to it. If you find yourself using System Restore frequently or want more settings, we'd suggest you take a look at other freeware apps.
Similar:
comments powered by Disqus
