


How to Fix Microsoft Store Error 0x801901f4
By Timothy Tibbettson 06/26/2023 |
When you log into the Windows Store or anywhere on your Microsoft Account, you might see error 0x801901f4. Try these steps to resolve the problem.
Something went wrong.
Please try again later.
0x801901f4.
User profile cannot be loaded.
1: Microsoft Store Error 0x801901f4 - Run Troubleshooter
The Windows Store App Troubleshooter should fix the error as a known issue.
Click Start > Settings > Update & security > Troubleshoot.
Scroll down on the right and click on Windows Store Apps.
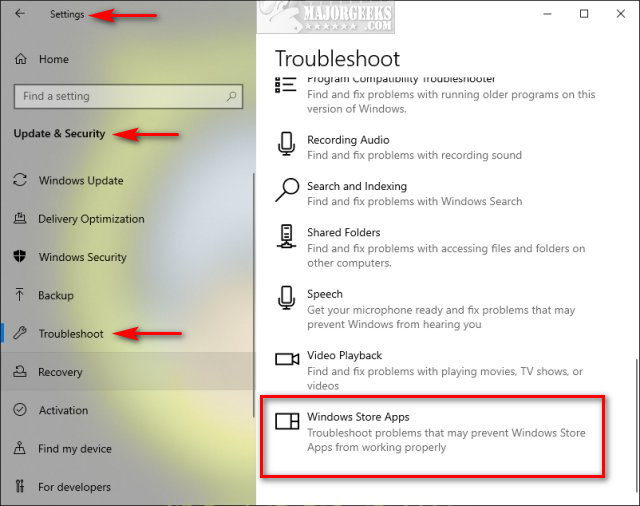
Click on Run the troubleshooter.
Wait while the troubleshooter looks for known problems.
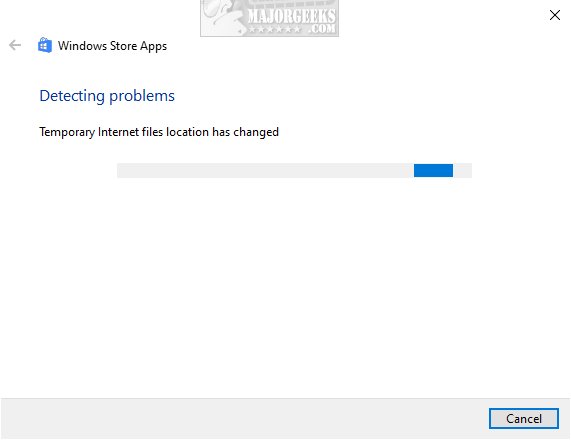
If any problems were discovered, they are almost always fixed automatically.
2: Microsoft Store Error 0x80070520 - Reset Store
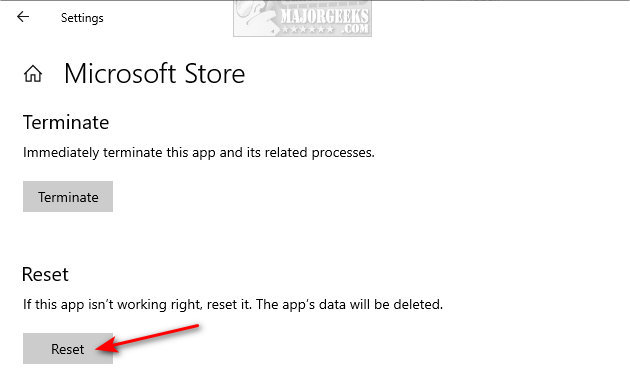
Click Start > Settings > Apps & features. Find, and click on Microsoft Store on the left. Click on Advanced options.
Scroll down and click on Reset.
3: Microsoft Store Error 0x80070520 - Re-Register Store
Open Powershell and type in:
PowerShell -ExecutionPolicy Unrestricted -Command “& {$manifest = (Get-AppxPackage Microsoft.WindowsStore).InstallLocation + 'AppxManifest.xml' ; Add-AppxPackage -DisableDevelopmentMode -Register $manifest}”
Press enter, and reboot.
4: Microsoft Store Error 0x801901f4 - Clear Store Cache
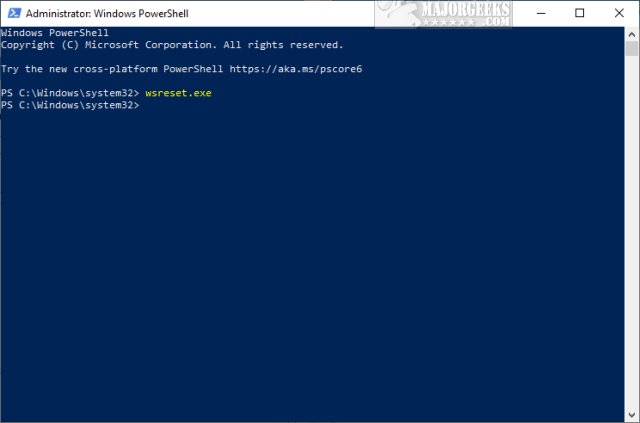
Press the Windows key + X and choose Windows PowerShell (Admin). Right click on that and Run as administrator.
Type in wsreset.exe. and press enter.
Be patient and wait until you see the flashing cursor again, so you know that the cache has been cleared.
5: Microsoft Store Error 0x801901f4 - Run System File Checker
Windows 10, Windows 8.1, or Windows 8 users will need to first run the Deployment Image Servicing and Management (DISM) tool before running the System File Checker. DISM will use Windows Update to provide any files that are needed to fix corruption. If you skip this step, System File Checker might not work. Windows 7 and Vista users can skip this step.
Open the Command Prompt or PowerShell as administrator.
Type in DISM.exe /Online /Cleanup-image /Restorehealth and press enter. This may take a few minutes.
Type in sfc /scannow and press the Enter key.
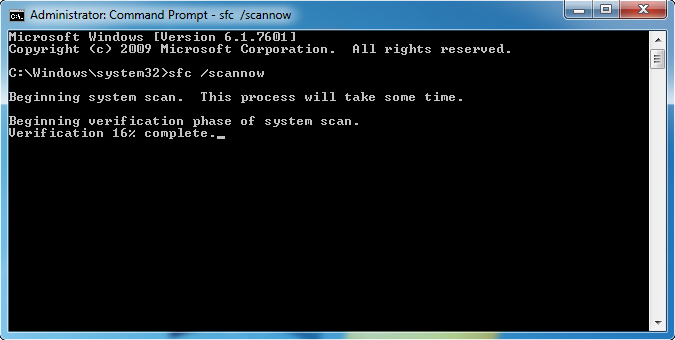
System File Checker will now scan for and replace files from the Windows cache, typically located at C:\Windows\System32\dllcache.
Similar:
How to Find Your Microsoft Store Downloads & Temporary Files
How to Restore Windows Store on Windows 10
How to Make Your Computer Run Like New in 4 Easy Steps
Video: Windows 10 Problems You Can Fix Yourself With Included Troubleshooters
Should You Try and Fix Your Own Computer?
How-To Disable the Windows Store on Windows 10 (Video)
comments powered by Disqus
Something went wrong.
Please try again later.
0x801901f4.
User profile cannot be loaded.
1: Microsoft Store Error 0x801901f4 - Run Troubleshooter
The Windows Store App Troubleshooter should fix the error as a known issue.
Click Start > Settings > Update & security > Troubleshoot.
Scroll down on the right and click on Windows Store Apps.
Click on Run the troubleshooter.
Wait while the troubleshooter looks for known problems.
If any problems were discovered, they are almost always fixed automatically.
2: Microsoft Store Error 0x80070520 - Reset Store
Click Start > Settings > Apps & features. Find, and click on Microsoft Store on the left. Click on Advanced options.
Scroll down and click on Reset.
3: Microsoft Store Error 0x80070520 - Re-Register Store
Open Powershell and type in:
PowerShell -ExecutionPolicy Unrestricted -Command “& {$manifest = (Get-AppxPackage Microsoft.WindowsStore).InstallLocation + 'AppxManifest.xml' ; Add-AppxPackage -DisableDevelopmentMode -Register $manifest}”
Press enter, and reboot.
4: Microsoft Store Error 0x801901f4 - Clear Store Cache
Press the Windows key + X and choose Windows PowerShell (Admin). Right click on that and Run as administrator.
Type in wsreset.exe. and press enter.
Be patient and wait until you see the flashing cursor again, so you know that the cache has been cleared.
5: Microsoft Store Error 0x801901f4 - Run System File Checker
Windows 10, Windows 8.1, or Windows 8 users will need to first run the Deployment Image Servicing and Management (DISM) tool before running the System File Checker. DISM will use Windows Update to provide any files that are needed to fix corruption. If you skip this step, System File Checker might not work. Windows 7 and Vista users can skip this step.
Open the Command Prompt or PowerShell as administrator.
Type in DISM.exe /Online /Cleanup-image /Restorehealth and press enter. This may take a few minutes.
Type in sfc /scannow and press the Enter key.
System File Checker will now scan for and replace files from the Windows cache, typically located at C:\Windows\System32\dllcache.
Similar:
comments powered by Disqus
