


Configure When and How Windows Updates Are Delivered
By Timothy Tibbettson 06/15/2023 |
The general rule on Windows Updates is always to update. There are a few settings available to configure Windows Updates in the Control Panel, but some hidden settings give you more control of when and how updates are delivered. Let's take a look.
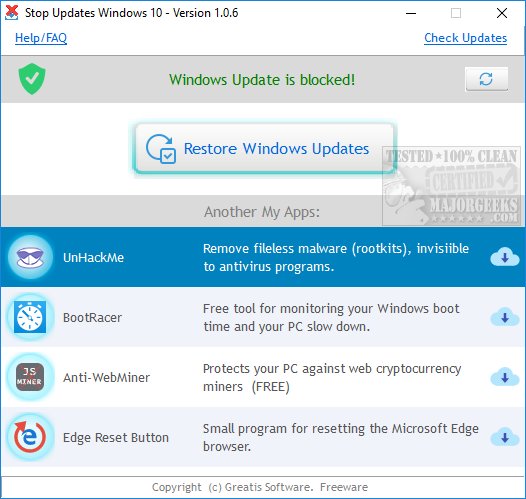
Note: This method requires the Pro version of Windows. Home users won't find the Group Policy Editor. However, both Home and Pro users can use StopUpdates10 to enable and disable Windows Updates with one-click. (Thanks, Nick)
To accomplish this, we need to open the Group Policy Editor. Press the Windows Key + R and type in gpedit.msc.
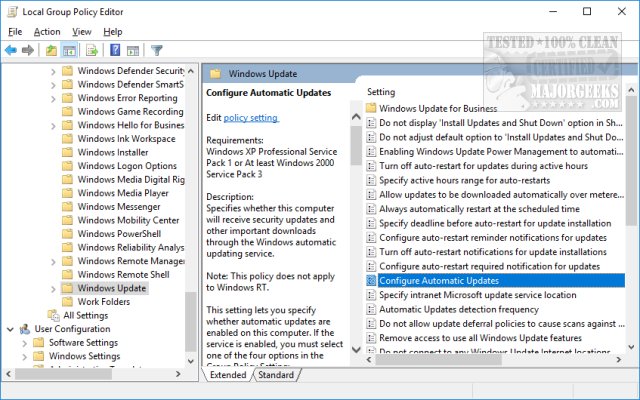
Expand to Computer Configuration > Administrative Templates > Windows Components > Windows Update.
On the right, double-click on Configure Automatic Updates.
You're now looking at "Configure Windows Updates." Not Configured means that Windows is controlling the settings, and Disabled means that you've entirely disabled updates, which is always a bad idea.
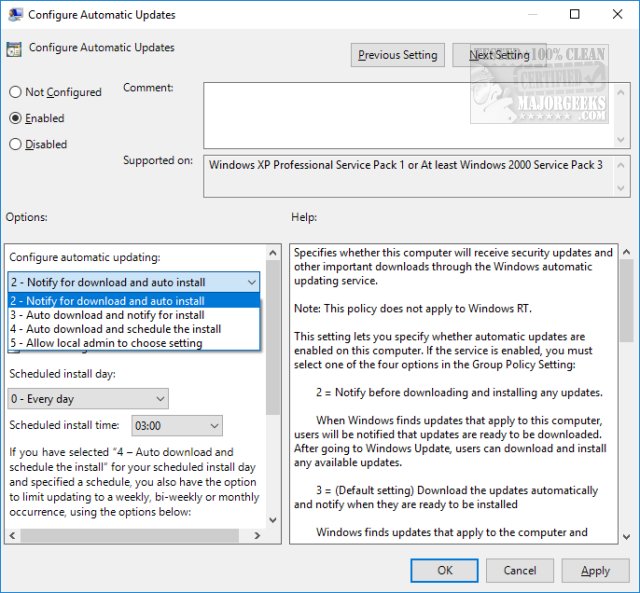
But, if you click Enabled, all the settings that were grayed out are now available.
You can now choose from the following:
Notify for download and auto install
Auto download and notify for install
Auto download and schedule the install
Allow local admin to choose the setting
If you select Auto download and schedule the install, you can now set up Windows Update to run weekly, bi-weekly or monthly. You can even select from the first, second, third, or fourth week of the month.
There you have it. Now you can take control of Windows Update settings not available in the Control Panel.
Similar:
How to Pause or Delay Windows 10 Major (Feature) Updates
How To Stop Windows Updates From Downloading Drivers on Windows 10
How to View Windows Update History in Windows 10
Microsoft Patch Tuesday Explained
comments powered by Disqus
Note: This method requires the Pro version of Windows. Home users won't find the Group Policy Editor. However, both Home and Pro users can use StopUpdates10 to enable and disable Windows Updates with one-click. (Thanks, Nick)
To accomplish this, we need to open the Group Policy Editor. Press the Windows Key + R and type in gpedit.msc.
Expand to Computer Configuration > Administrative Templates > Windows Components > Windows Update.
On the right, double-click on Configure Automatic Updates.
You're now looking at "Configure Windows Updates." Not Configured means that Windows is controlling the settings, and Disabled means that you've entirely disabled updates, which is always a bad idea.
But, if you click Enabled, all the settings that were grayed out are now available.
You can now choose from the following:
Notify for download and auto install
Auto download and notify for install
Auto download and schedule the install
Allow local admin to choose the setting
If you select Auto download and schedule the install, you can now set up Windows Update to run weekly, bi-weekly or monthly. You can even select from the first, second, third, or fourth week of the month.
There you have it. Now you can take control of Windows Update settings not available in the Control Panel.
Similar:
comments powered by Disqus
