


Drag and Drop Files or Folders Not Working
By Timothy Tibbettson 07/18/2023 |
Drag and drop is an often-used feature to move files or folders from one location to another. If you're drag and drop has stopped working, try these steps.
1: Press the ESC Key
You might get lucky and press the ESC (Escape) key. Should pushing the escape key work, it's probably because of a background application. You might need to discover which background app is locking the drag and drop option and check that app's settings.
2: Clean Boot or Safe Mode
While a bit more complicated, you can perform a Clean Boot or boot into Safe Mode and see if the problem persists. If the problem goes away, odds are you have a startup program that is blocking the drag and drop feature. You'll have to guess and disable a few startup items until you find the culprit.
3: Disable User Account Control
User Account Control or UAC has been known to be the problem, and you should only disable UAC temporarily. Press the Windows Key + S and type in uac and click on Change User Account Control settings.
Advanced users can also open the Registry Editor and navigate to HKEY_LOCAL_MACHINE\SOFTWARE\Microsoft\Windows\CurrentVersion\Policies\System. Change the Value data from 1 to 0.
4: Change DragHeight and DragWidth
Open the Registry Editor and go to HKEY_CURRENT_USER\Control Panel\Desktop. Find DragHeight and DragWidth and change the Value data to a higher number. We'd try a higher number first, maybe 40.
5: Run System File Checker
Windows 10, Windows 8.1 or Windows 8 users will need to first run the Deployment Image Servicing and Management (DISM) tool before running the System File Checker. DISM will use Windows Update to provide any files that are needed to fix corruptions. If you skip this step, System File Checker might not work. Windows 7 and Vista users can skip this step.
You will need to first open the Command Prompt or PowerShell as administrator.
Type in DISM.exe /Online /Cleanup-image /Restorehealth and press enter. This may take a few minutes.
2: Running System File Checker
All you need to do is type in sfc /scannow and press the Enter key.
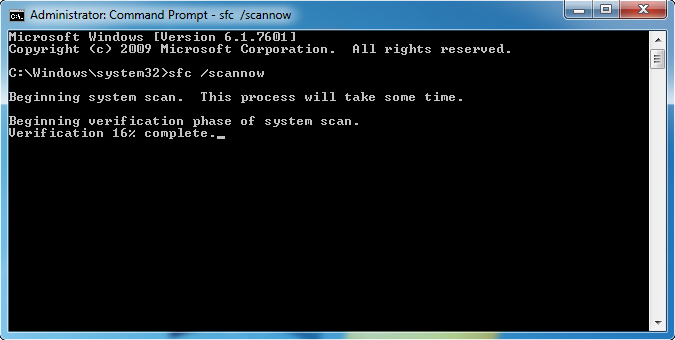
System File Checker will now scan for and replace files from the Windows cache, typically located at C:\Windows\System32\dllcache.
comments powered by Disqus
1: Press the ESC Key
You might get lucky and press the ESC (Escape) key. Should pushing the escape key work, it's probably because of a background application. You might need to discover which background app is locking the drag and drop option and check that app's settings.
2: Clean Boot or Safe Mode
While a bit more complicated, you can perform a Clean Boot or boot into Safe Mode and see if the problem persists. If the problem goes away, odds are you have a startup program that is blocking the drag and drop feature. You'll have to guess and disable a few startup items until you find the culprit.
3: Disable User Account Control
User Account Control or UAC has been known to be the problem, and you should only disable UAC temporarily. Press the Windows Key + S and type in uac and click on Change User Account Control settings.
Advanced users can also open the Registry Editor and navigate to HKEY_LOCAL_MACHINE\SOFTWARE\Microsoft\Windows\CurrentVersion\Policies\System. Change the Value data from 1 to 0.
4: Change DragHeight and DragWidth
Open the Registry Editor and go to HKEY_CURRENT_USER\Control Panel\Desktop. Find DragHeight and DragWidth and change the Value data to a higher number. We'd try a higher number first, maybe 40.
5: Run System File Checker
Windows 10, Windows 8.1 or Windows 8 users will need to first run the Deployment Image Servicing and Management (DISM) tool before running the System File Checker. DISM will use Windows Update to provide any files that are needed to fix corruptions. If you skip this step, System File Checker might not work. Windows 7 and Vista users can skip this step.
You will need to first open the Command Prompt or PowerShell as administrator.
Type in DISM.exe /Online /Cleanup-image /Restorehealth and press enter. This may take a few minutes.
2: Running System File Checker
All you need to do is type in sfc /scannow and press the Enter key.
System File Checker will now scan for and replace files from the Windows cache, typically located at C:\Windows\System32\dllcache.
comments powered by Disqus
