


How To Enable or Disable Reserved Storage in Windows 11
By selma čitakovićon 05/21/2026 |
![{$insert['content_title']](/content/file/6111_image2.png
)
Windows sets aside a portion of your storage space for system updates, caches, and temporary files. As soon as you start running low on space, your system will clear the reserved storage and use it for updates and apps that need it. Basically, it serves as a buffer that makes sure you always have the storage space to keep your PC running normally.
This feature was introduced in Windows 10 and is enabled by default in Windows 11. It's expected to take up around 7GB, but it may vary.
You can turn it off if you're running extremely low on storage as a temporary measure. Still, sometimes reserved storage doesn't work properly and takes up way more space than it should. I saw a post on Reddit where OP's reserved storage size was 340GB somehow.
Either way, we'll show you how to enable/disable it below. Make sure you sign in as an admin first, though.
Check if it's active
You can check if reserved storage is currently in use, like this:
- Press Win + X, select Terminal (Admin), and open either PowerShell or Command Prompt.
- In PowerShell, type the following command and hit Enter: Get-WindowsReservedStorageState
- In Command Prompt, type this one instead: DISM /Online /Get-ReservedStorageState
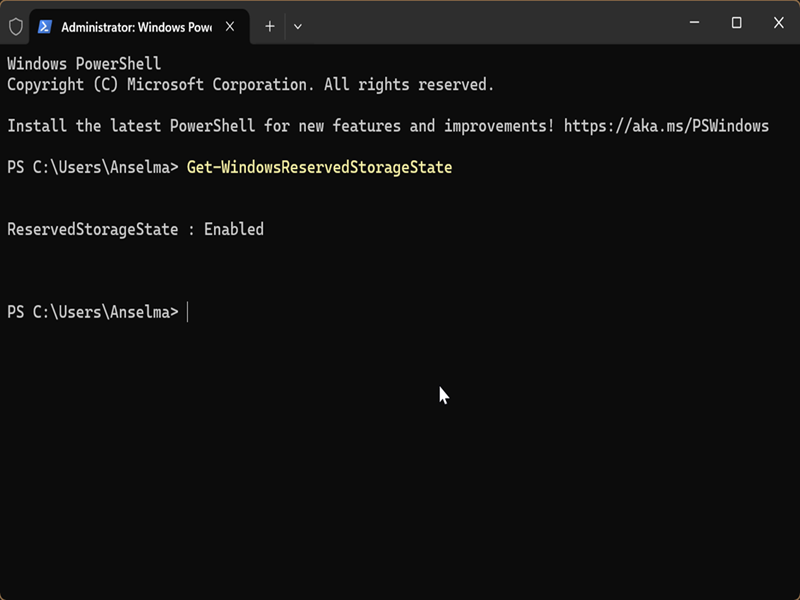
You should see a message saying that reserved storage is enabled or disabled.
If enabled, you can find its current size in the Settings:
- Go to Settings > System > Storage.
- Click on the Show more categories link, right under the different storage sections and their sizes.
- Select System & reserved. You'll see your Reserved storage size, right under System files.
The size varies depending on how many optional features and languages you've installed.
Use PowerShell
You can easily enable or disable reserved storage with a command:
- Type PowerShell in Windows Search, and select Run as Administrator.
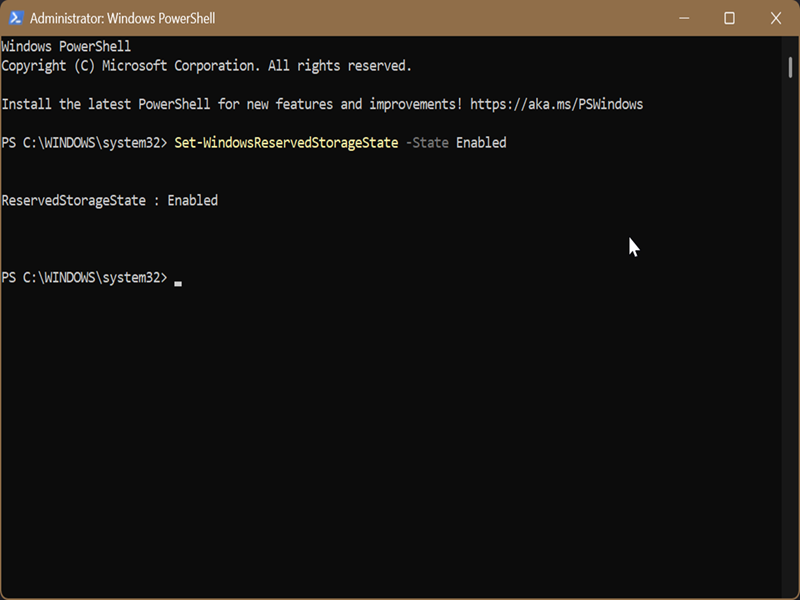
- To enable reserved storage, type the following and hit Enter: Set-WindowsReservedStorageState -State Enabled
- To disable it: Set-WindowsReservedStorageState -State Disabled
Use Command Prompt
Alternatively, you can try this:
- Type Command Prompt in Windows Search, and click on Run as administrator.
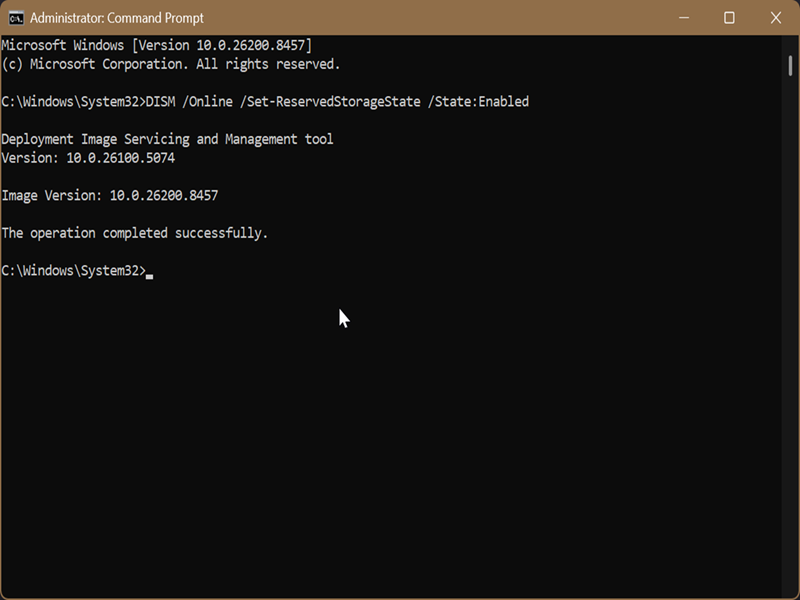
- To enable reserved storage, type this command and press Enter: DISM /Online /Set-ReservedStorageState /State:Enabled
- To disable it: DISM /Online /Set-ReservedStorageState /State
 isabled
Finally, you can also reduce the reserved storage size by uninstalling optional features and languages you don't need in Settings > System > Optional features.

|
selma citakovic
Selma is a gamer, geek and gremlin hunter with a passion for cyber security and smashing Windows bugs before they bite. She’s IBM-certified, loves real freeware, despises bloatware, and powers most of her troubleshooting with an unhealthy amount of coffee. |
comments powered by Disqus
