


How to Change Your First System Product Name in Windows 10 & 11
By Timothy Tibbettson 06/15/2023 |
Every installation has a system product name that varies from device to device depending on the manufacturer or if you built your PC. Here's how to change your system product name in Windows 11.
Click on Start > Settings.
You can see the current product name here:
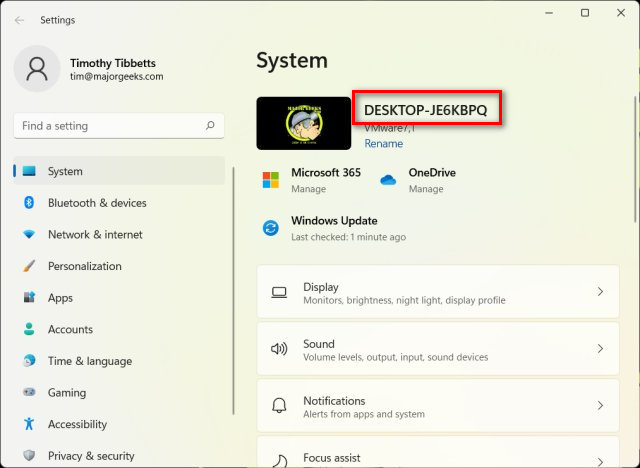
Click on Rename.
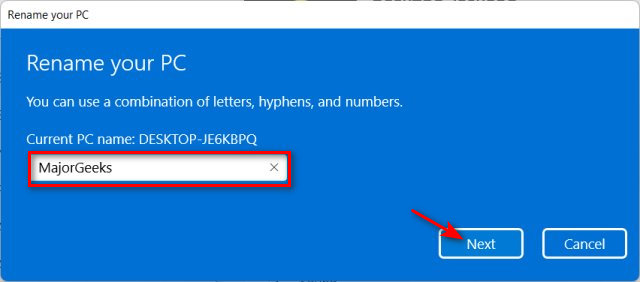
Enter the name you want.
Click Next.
Click Restart now when prompted.
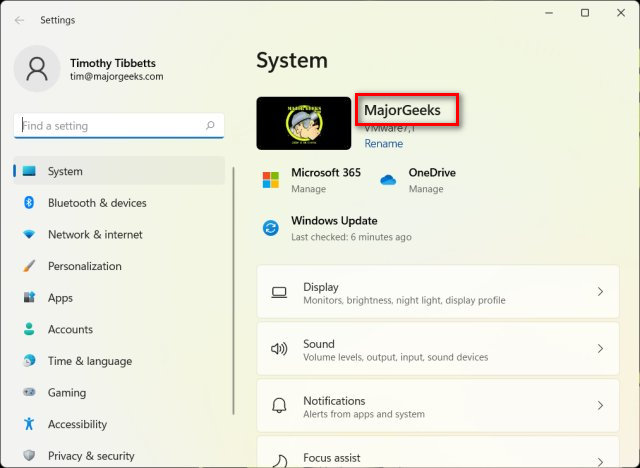
Click on Start > Settings again to confirm the change.
If that didn't work for some reason, you can check the registry.
Open the Registry Editor and go to:
HKEY_LOCAL_MACHINE\SYSTEM\CurrentControlSet\Control\SystemInformation
Double-click on SystemInformation
Change the Value_data to the new name.
Similar:
How to Rename Your PC in Windows 10 & 11
3 Ways to Log off Another User in Windows 10 & 11
How to Change Your User And Account Names in Windows 10 & 11
How to Delete a User Profile in Windows 10 & 11
9 Ways to Sign out of Windows 10 & 11
comments powered by Disqus
Click on Start > Settings.
You can see the current product name here:
Click on Rename.
Enter the name you want.
Click Next.
Click Restart now when prompted.
Click on Start > Settings again to confirm the change.
If that didn't work for some reason, you can check the registry.
Open the Registry Editor and go to:
HKEY_LOCAL_MACHINE\SYSTEM\CurrentControlSet\Control\SystemInformation
Double-click on SystemInformation
Change the Value_data to the new name.
Similar:
comments powered by Disqus
