


How to Disable Automatic Maintenance in Windows 10
By Timothy Tibbettson 06/29/2023 |
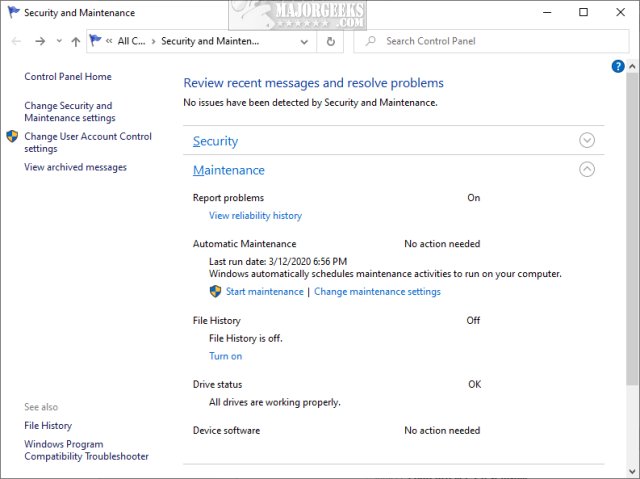
Automatic Maintenance in Windows 10 automatically runs maintenance on a daily schedule at a time you pick, or when the computer is not being used, usually at night. Maintenance can include Windows Updates, security scans, diagnostics, and software updates. In this tutorial, we show you how to disable or enable Automatic Maintenance.
You can change the time Automatic Maintenance times and whether it can wake Windows by following this tutorial.
If you'd like to enable or disable Automatic Maintenace, we can make a simple registry change, or apply registry files. You should back up your registry first.
Disable or Enable Automatic Maintenance With Registry Files
Download Disable Automatic Maintenance in Windows 10, and extract the two files:
Disable Automatic Maintenance.reg
Enable Automatic Maintenance.reg (Default)
Double-click Disable Automatic Maintenance.reg or Disable Automatic Maintenance.reg to enable or disable Disable Automatic Maintenance in Windows 10.
Click Yes when prompted by User Account Control.
Click Yes when prompted by Registry Editor.
Click OK when prompted by the Registry Editor.
This tweak is included as part of MajorGeeks Registry Tweaks.
Disable or Enable Automatic Maintenance With Regedit
Open the Registry Editor and type HKEY_LOCAL_MACHINE\SOFTWARE\Microsoft\Windows NT\CurrentVersion\Schedule\Maintenance in the address bar.
Create a New > DWORD > ImmersiveContextMenu by right-clicking on the right pane.
Double-click ImmersiveContextMenu and change the Value data.
Enable - 0 (or delete)
Disable - 1
Similar:
How to Change Automatic Maintenance Times
How to Disable the Windows 10 Task Scheduler Privacy and Automatic Maintenance Related Tasks
How to Block or Defer Windows 10 Major Updates
How to Use Storage Sense to Delete Junk Files in Windows 10 Automatically
How to Empty the Recycle Bin When Shutting Down Your Computer
comments powered by Disqus
You can change the time Automatic Maintenance times and whether it can wake Windows by following this tutorial.
If you'd like to enable or disable Automatic Maintenace, we can make a simple registry change, or apply registry files. You should back up your registry first.
Disable or Enable Automatic Maintenance With Registry Files
Download Disable Automatic Maintenance in Windows 10, and extract the two files:
Disable Automatic Maintenance.reg
Enable Automatic Maintenance.reg (Default)
Double-click Disable Automatic Maintenance.reg or Disable Automatic Maintenance.reg to enable or disable Disable Automatic Maintenance in Windows 10.
Click Yes when prompted by User Account Control.
Click Yes when prompted by Registry Editor.
Click OK when prompted by the Registry Editor.
This tweak is included as part of MajorGeeks Registry Tweaks.
Disable or Enable Automatic Maintenance With Regedit
Open the Registry Editor and type HKEY_LOCAL_MACHINE\SOFTWARE\Microsoft\Windows NT\CurrentVersion\Schedule\Maintenance in the address bar.
Create a New > DWORD > ImmersiveContextMenu by right-clicking on the right pane.
Double-click ImmersiveContextMenu and change the Value data.
Enable - 0 (or delete)
Disable - 1
Similar:
comments powered by Disqus
